organizing
How to Organize Under the Sink
Organize under-sink storage with leak checks, product separation, child-safety zones, and pull-out container criteria.
Check for leaks first, then separate cleaners, refills, bags, and daily-use items into shallow pull-out zones.
What this page is meant to solve
Create under-sink zones while keeping risky cleaners contained and visible.
When this advice applies
Use when you need to create under-sink zones while keeping risky cleaners contained and visible.
Why the order matters
Storage works only after the real categories are visible. Sorting first prevents buying containers for clutter that should leave. Finish line: The zone has fewer duplicates, visible categories, and a maintenance rule the household can repeat.
When to stop and reassess
Do not use as a substitute for product labels, care labels, landlord rules, or professional repair advice. Pause when the job starts requiring special equipment, permanent changes, personal data, or a purchase you did not plan to make.
Why these steps are ordered this way
The same under sink problem can need different treatment on glass, grout, fabric, food storage, sealed finishes, or small-space storage systems.
For how to organize under the sink, a low-risk first move can be repeated or escalated, while a harsh first move can set stains, dull finishes, or leave residue.
Surface Issue can look solved while wet, scented, or freshly wiped. Judging after drying prevents repeating a method that only masked the problem.
Compare organizers gives the reader a focused follow-up instead of leaving the under sink issue as a one-off tip with no route forward.

Steps that keep the job controlled
Name the material
Gather flashlight, towel, measuring tape before starting.
Keep the job reversible
Work in a small area, use the gentlest method that can work, and give the surface or fabric time to respond.
Judge only when dry
Residue, moisture, and poor lighting can make a result look worse or better than it is. Let the area dry before escalating.
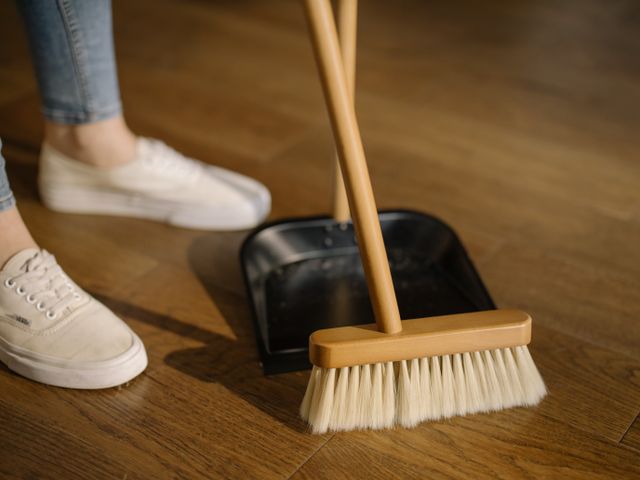
Remove everything and inspect the cabinet floor, pipe trap, disposal, and shutoff valves for leaks or swelling.
Measure around plumbing before choosing bins so storage does not block access to valves.
Separate dish supplies, trash bags, gloves, and cleaners that should not be stored together.
Use removable open bins that leave the cabinet floor and pipes visible enough to spot leaks.
Label the front of each bin and keep child or pet risk in mind before returning products.
Confirm the exact situation: Create under-sink zones while keeping risky cleaners contained and visible.
Materials
- flashlight
- towel
- measuring tape
- open bins
- waterproof labels
Mistakes to avoid
- Covering the entire cabinet floor with a tray that hides leaks.
- Mixing incompatible cleaners in one deep bin.
- Buying pull-out hardware before measuring pipes and hinges.
Use substitutes without changing the safety profile
Avoid sealed or opaque containers until you know the contents stay dry, visible, and easy to use.
Keep the substitute gentler than the original item, and test before using heat, acid, bleach, abrasion, or a sealed container.
Do not buy containers before measuring the shelf, confirming the category, and checking that daily items stay reachable.
Buying is useful only when the surface, fabric, food-safety, or storage constraint is already clear.
When the first pass does not solve it
Under Sink issue improves while wet but returns after drying.
Likely cause: Residue, oil, mineral film, detergent, moisture, or hidden clutter is still present after the first pass.
Fix: Repeat a smaller section, rinse or wipe more thoroughly, then wait until the area is fully dry before judging the result.
Under Sink issue gets better once, then comes back in the next routine cycle.
Likely cause: The upstream habit has not changed: drying, sorting, ventilation, use-first rotation, rinsing, or product dosing is still missing.
Fix: Add one visible cue at the source and use Compare organizers as the next focused article or tool.
Under Sink issue spreads, lightens, dulls, or feels sticky.
Likely cause: The method may be too strong, too wet, too abrasive, or too concentrated for the material.
Fix: Stop adding product, rinse or blot if the label allows it, ventilate if needed, and switch to product-label or manufacturer guidance.
Under Sink issue only improves after buying something new.
Likely cause: The first method may be masking the problem instead of solving the cause.
Fix: Go back to the how to organize under the sink diagnosis step and confirm the surface, fabric, room, or storage constraint before buying again.
Under Sink issue is tied to odor, pests, mold, fumes, leaks, or repeated fabric damage.
Likely cause: The household problem has moved beyond a simple cleaning, laundry, food-storage, or organizing task.
Fix: Stop DIY, keep people and pets away if needed, and use qualified repair, remediation, product-label, landlord, or medical guidance.
Prevention
- Keep the under sink prevention cue visible where the problem begins, not hidden in a phone note or a distant checklist.
- Pair how to organize under the sink with one maintenance trigger: after showering, before drying, before shopping, after laundry, or during the weekly reset.
Stop DIY when
- Stop if the under sink situation changes material, odor, color, texture, food safety, electrical, plumbing, pest, mold, or product-label assumptions.
- Stop when color lifts, finish dulls, fibers roughen, wood swells, stone etches, food smells off, or a container traps moisture.
- Stop if fumes, heat, skin irritation, a care label, or a manufacturer warning makes the method unsafe for the room or item.
Common checks
Should cleaners be stored under the sink?
Only if labels stay visible, risky products are separated, and children or pets cannot access them.
What should stay out of this cabinet?
Food, paper towels that may get wet, and any product whose label warns against the cabinet conditions.
How much space should I leave empty?
Leave enough room to see the cabinet floor and reach shutoff valves quickly.
What should I do first?
Start by narrowing the problem to how to organize under the sink, then choose the gentlest method that can solve that exact case.